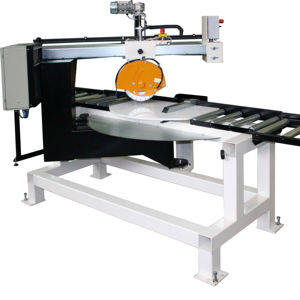
The Releated Products of Cut Cement Backer Board
Cut Cement Backer Board
Understanding Cut Cement Backer Board: A Comprehensive Guide
Choosing the Right Tools for Cutting Cement Backer Board
When it comes to installing cement backer board, one of the most crucial steps is cutting it to size. To ensure precision and efficiency, choosing the right tools is essential. For smaller projects, a utility knife can be sufficient if you score the board multiple times and snap it along the scored line. However, for larger cuts or more complex shapes, a circular saw with a diamond blade designed for masonry work is highly recommended. This tool makes the job faster and cleaner, reducing the risk of chipping or breaking the cement backer board.
Techniques for Cutting Cement Backer Board Accurately
Accuracy is key when cutting cement backer board, as even minor errors can lead to significant issues during installation. One effective technique involves scoring the surface of the board first with a sharp utility knife or a specialized scoring tool. This initial scoring weakens the top layer, making it easier to break along the desired line. For straight cuts, using a straight edge as a guide ensures clean, precise lines. When using power tools, always wear protective gear such as goggles and gloves to stay safe while achieving accurate cuts.

Tips for Handling and Installing Cut Cement Backer Board
After cutting your cement backer board, proper handling and installation are just as important as the cutting process itself. Always lift the board carefully, supporting its full weight evenly to avoid bending or cracking. During installation, use galvanized nails or screws specifically designed for cementitious materials, spaced approximately every six inches around the perimeter and twelve inches apart in the field. This ensures a secure attachment that will stand up to moisture and wear over time.

Maintaining the Integrity of Cut Edges on Cement Backer Board
Maintaining the integrity of cut edges is vital for preventing water damage and ensuring longevity. After cutting, inspect the edges for any chips or rough spots. Smooth these areas with sandpaper or a grinding tool to prevent water from seeping into small cracks and causing degradation over time. Additionally, applying a thin layer of waterproofing membrane over all cut edges provides an extra barrier against moisture infiltration, enhancing the overall performance and durability of your cement backer board installation.
Benefits of Using Precisely Cut Cement Backer Board
Using precisely cut cement backer board offers numerous benefits, from improved aesthetics to enhanced functionality. Properly sized pieces fit together seamlessly, creating a smooth, level surface ideal for tiling or other finishing applications. This not only improves the appearance of the final project but also facilitates easier installation of tiles or other coverings. Moreover, accurately cut boards reduce waste, saving both time and material costs, which is especially beneficial for large-scale projects requiring extensive coverage.
Common Mistakes to Avoid When Cutting Cement Backer Board
Despite the straightforward nature of cutting cement backer board, several common mistakes can compromise the quality of your work. Rushing through the cutting process can result in jagged edges or uneven pieces, complicating installation and potentially leading to leaks or other issues down the line. Failing to use appropriate tools or techniques may also cause unnecessary damage to the material. Always take your time, use the right equipment, and follow best practices to achieve the best results possible.
Request for Quotation
报错: 未找到这个表单


