Cutting Glass With Tile Saw: Precision and Patience
Cutting glass with a tile saw might seem like an unconventional approach, but it can be a practical solution for certain projects. Whether you’re working on custom glass tabletops or intricate glass art pieces, understanding how to use a tile saw effectively can elevate your craftsmanship. This method requires precision, patience, and the right tools. Let’s delve into the process and explore some tips that will help you achieve clean, professional cuts.

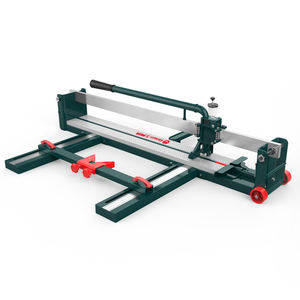
Selecting the Right Tile Saw for Cutting Glass
Before you begin cutting glass with a tile saw, it’s crucial to choose the appropriate tool. A wet tile saw is generally recommended over a dry one because water helps cool the blade and reduce friction, which is essential when dealing with delicate materials like glass. Look for a saw that has a diamond blade designed specifically for cutting glass. These blades are often thinner and have a finer grit, allowing for smoother, cleaner cuts.

Preparing Your Workspace for Cutting Glass
Safety should always come first when cutting glass with a tile saw. Wear protective gear such as safety glasses, gloves, and ear protection. Ensure your workspace is well-lit and free from clutter. Place the glass on a stable surface, ideally using a foam pad or rubber mat to prevent slippage. Mark your cutting lines clearly using a permanent marker or painter’s tape. This step is vital as it guides the saw along the desired path, ensuring accuracy.
Techniques for Cutting Glass Smoothly and Efficiently
Once your workspace is set up and safety measures are in place, it’s time to start cutting. Begin by slowly lowering the saw blade onto the glass, following the marked lines. Apply steady pressure and maintain a consistent speed. The key to success lies in controlling the feed rate; moving too quickly can cause the glass to chip or crack. Keep the water flow constant to ensure the blade remains cool and lubricated throughout the process.
Troubleshooting Common Issues When Cutting Glass
Even experienced craftsmen encounter problems while cutting glass with a tile saw. Chipping around the edges is a common issue, often caused by using too much force or an incorrect blade type. If this happens, reassess your technique and consider adjusting the blade speed or trying a different blade. Another frequent problem is jagged edges, which can usually be resolved by slowing down the cutting process and ensuring the blade is sharp and in good condition.
Finishing Touches After Cutting Glass
After you’ve completed the cut, inspect the edges for any imperfections. If necessary, smooth them out using a diamond file or sandpaper. This step is particularly important if the glass will be part of a functional item like a tabletop or shelf. Cleaning up any glass dust and debris from your workspace is also crucial to maintaining a safe environment. Finally, take a moment to admire your work—a successful glass cutting project is a testament to skill and attention to detail.
By following these guidelines, you’ll be well-equipped to tackle the challenge of cutting glass with a tile saw. Remember, practice makes perfect, so don’t be discouraged if your first few attempts aren’t flawless. With time and experience, you’ll develop the skills needed to produce high-quality results consistently.
报错: 未找到这个表单

Automatic Continuous Edging Machine Th...

Bridge Stone Saw Scope of applicat...

Concrete Cutting Machine Concrete ...

Diamond Rope Saw Description: The f...
