Table of Contents
Diamond Wire Saw DIY: Crafting Precision Tools for Cutting Hard Materials
When it comes to cutting through tough materials like concrete, stone, or reinforced metals, a diamond wire saw stands out as one of the most efficient tools. Building your own diamond wire saw can be both cost-effective and rewarding, offering you a chance to customize your tool according to specific needs. This guide will walk you through the process of creating a diamond wire saw DIY project that ensures precision and durability.
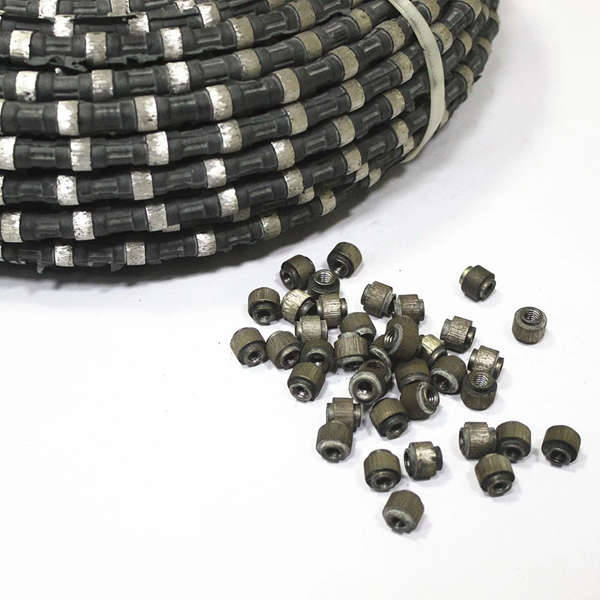
The first step in any DIY project is selecting the right components. For a diamond wire saw, this means choosing high-quality materials that can withstand the rigors of cutting hard surfaces. Look for a robust frame made from sturdy metals such as steel, which forms the backbone of your saw. Additionally, focus on acquiring a diamond-impregnated wire that serves as the cutting edge. This wire should be strong yet flexible enough to maneuver around corners and tight spaces.
Once you have gathered all necessary parts, the next phase involves constructing the frame. Start by assembling the main structure using the metal rods or pipes you’ve chosen. Ensure that the frame is stable and rigid to support the tension required during operation. Pay special attention to the mounting points where the wire will be attached; these need to be securely fastened to prevent any movement during use.
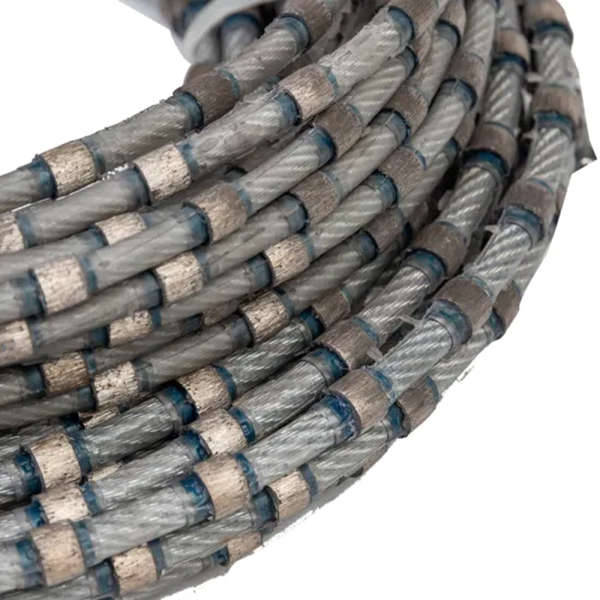
After the frame is set up, it’s time to install the diamond wire. This step requires careful handling to avoid damaging the delicate yet powerful cutting element. Begin by threading the wire through the guide pulleys, ensuring it runs smoothly without any twists or kinks. Tension the wire appropriately—too loose, and it won’t cut effectively; too tight, and it could snap under pressure.

Proper maintenance is crucial for extending the life of your homemade diamond wire saw. Regularly inspect the wire for signs of wear or damage. Lubricate moving parts to reduce friction and ensure smooth operation. Also, keep the cutting area clean to prevent debris from interfering with the cutting process. By taking good care of your tool, you’ll maintain its efficiency and prolong its lifespan.
One of the greatest advantages of building your own diamond wire saw is the ability to customize it based on specific requirements. Whether you need a longer reach for overhead cuts or a more compact design for confined spaces, modifications can be made relatively easily. Consider adding features like adjustable handles or additional safety guards to enhance usability and safety during operations.
Safety should always come first when operating power tools like a diamond wire saw. Wear appropriate personal protective equipment (PPE), including safety glasses, gloves, and ear protection. Work in a well-ventilated area to avoid inhaling dust particles generated during cutting. Familiarize yourself with the manufacturer’s instructions for your particular setup, even if it’s homemade, to understand operational limits and recommended practices.
By following these steps and tips, you can successfully build a functional and reliable diamond wire saw that meets your cutting needs. Not only does this DIY approach save money, but it also gives you the satisfaction of creating a tool tailored exactly to your specifications.
报错: 未找到这个表单

Automatic Continuous Edging Machine Th...

Bridge Stone Saw Scope of applicat...

Concrete Cutting Machine Concrete ...

Diamond Rope Saw Description: The f...
