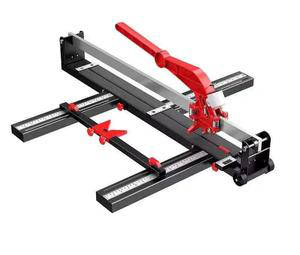
Tile Cutter for Vinyl Plank: Precision and Efficiency in Flooring Installation
When it comes to home renovation or construction projects, choosing the right tools can make all the difference. One such tool that has become indispensable for professionals and DIY enthusiasts alike is the tile cutter for vinyl plank. This specialized equipment is designed to provide precise cuts, ensuring a seamless installation process. Whether you’re working on a small bathroom upgrade or a large commercial space, understanding how to select and use a tile cutter for vinyl plank can greatly enhance your project’s outcome.
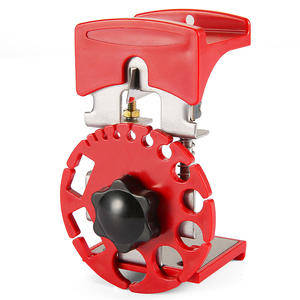
Choosing the Right Tile Cutter for Vinyl Plank
Selecting the best tile cutter for vinyl plank depends on several factors including the size of your project, the thickness of the planks, and your level of experience. For smaller jobs or occasional use, a manual tile cutter for vinyl plank might be sufficient. These models are typically more affordable and easier to handle. However, if you’re tackling larger areas or require frequent cutting, investing in a powered tile cutter for vinyl plank could be more beneficial. They offer faster, cleaner cuts and can handle thicker materials more efficiently.
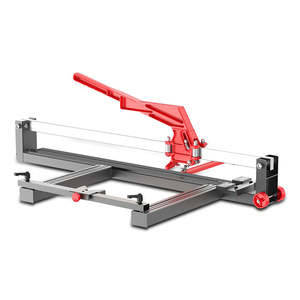
Benefits of Using a Tile Cutter for Vinyl Plank
Using a tile cutter for vinyl plank offers numerous advantages over alternative methods like utility knives or saws. First and foremost, it provides accuracy and precision, which is crucial when fitting planks around corners or obstacles. Additionally, a tile cutter for vinyl plank minimizes waste by reducing the chances of chipping or tearing during the cutting process. This not only saves material but also time and effort in having to redo sections due to mistakes.
How to Use a Tile Cutter for Vinyl Plank
Proper usage of a tile cutter for vinyl plank involves a few key steps to ensure safety and effectiveness:
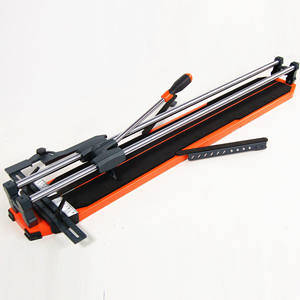
1. Prepare Your Workspace: Clear a flat, stable surface where you can work comfortably. Ensure there is adequate lighting and ventilation.
2. Measure and Mark: Accurately measure the area where the plank will be installed and mark the cut lines on the vinyl plank.
3. Secure the Plank: Place the vinyl plank on the tile cutter bed and secure it using the provided clamps or guides.
4. Make the Cut: Follow the manufacturer’s instructions to operate the tile cutter for vinyl plank, applying even pressure along the marked line.
Maintenance Tips for Your Tile Cutter for Vinyl Plank
Like any tool, regular maintenance of your tile cutter for vinyl plank is essential to keep it functioning optimally and extend its lifespan. After each use, clean the machine thoroughly to remove any debris or residue. Lubricate moving parts as recommended by the manufacturer to prevent rust and ensure smooth operation. Storing your tile cutter for vinyl plank in a dry place when not in use can also help protect against damage.
Troubleshooting Common Issues with Tile Cutters for Vinyl Plank
Even with proper care, issues may arise while using a tile cutter for vinyl plank. Common problems include difficulty in making straight cuts, scoring marks instead of complete cuts, or the blade becoming dull quickly. To address these, check that the blade is properly aligned and sharp. Adjust the pressure applied during cutting if necessary. If the problem persists, consult the user manual or contact the manufacturer for further assistance.
By following these guidelines, you can maximize the performance of your tile cutter for vinyl plank, leading to better results in your flooring projects. Whether you’re a seasoned professional or a novice DIYer, investing in quality tools and learning how to use them effectively will undoubtedly pay off in terms of both efficiency and satisfaction with your work.
报错: 未找到这个表单

Automatic Continuous Edging Machine Th...

Bridge Stone Saw Scope of applicat...

Concrete Cutting Machine Concrete ...

Diamond Rope Saw Description: The f...
